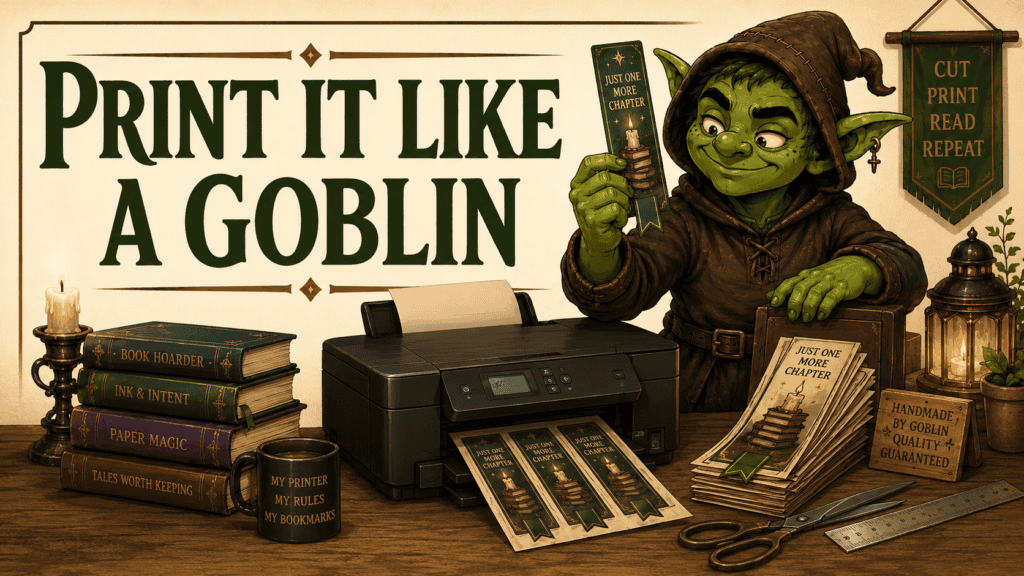
The goblin has watched too many perfectly good printables come out of printers looking sad, shrunken, and slightly gray. This will not happen to you. Follow these steps and your printables will look like you bought them from a very fancy shop instead of printing them at 11pm in your pajamas.
Step 1: Use the right paper
Not all pages want the same paper.
Tracker, reading log, and registration pages — regular printer paper is fine. That’s what they were designed for. If you want them to feel a little nicer in a binder or on a clipboard, 28 lb paper is a small upgrade that makes a big difference.
Bookmarks — these want cardstock. 65 lb cardstock is the sweet spot: sturdy enough to survive being jammed into a book at 2am, thin enough that most home printers won’t complain. If your printer only takes regular paper, print on that and see Step 5 for the tape trick.
Step 2: Fix your printer settings (this is the important one)
This is where most printables go wrong. Before you hit print:
- Set scale to “Actual Size” or 100% — never “Fit to Page.” Fit to Page shrinks everything and adds weird margins, and your bookmarks will come out the wrong size.
- Set quality to “High” or “Best” — the default “Normal” setting is why prints sometimes look faintly washed out.
- If you’re using cardstock, tell your printer — change the paper type setting to “Cardstock” or “Heavy Paper” so it feeds properly and lays down enough ink.
Step 3: Color or grayscale?
Everything in the kit was designed to be ink-friendly — no giant dark backgrounds eating your ink like a dragon eats knights. Print the bookmarks in color (the little green creature deserves it). The reading log and registration pages look great in color but survive grayscale just fine if you’re rationing ink.
Step 4: Cut like you mean it
Scissors work. But if you want clean, straight edges:
- A paper trimmer (the small guillotine kind) is the fastest way to perfect bookmark edges — many libraries and offices have one if you don’t.
- Or use a metal ruler and a craft knife on a cutting mat. Cut just inside the guide lines.
- Optional but delightful: a corner rounder punch ($5–8 online) instantly makes bookmarks look professionally made.
Step 5: Make your bookmarks immortal
Bookmarks live hard lives. To help them survive:
- Lamination is the gold standard — a cheap home laminator or a few self-seal laminating pouches will do it.
- The tape trick: no laminator? Cover both sides with clear packing tape, smooth out the bubbles, and trim the edges. It’s shockingly effective and costs nothing.
No printer? No problem.
Load the PDF onto a flash drive or upload it to a print shop’s website (office supply stores, or your local library for pennies a page). Ask for the bookmarks on 65 lb cardstock, color, actual size. Done.
That’s it. Print, cut, hoard. If your printables come out looking store-bought, the goblin takes full credit. If they don’t, re-check Step 2 – it’s always Step 2.
Don’t have the free kit yet? Grab the Goblin Reader Starter Kit here – the goblin only asks for your email.
Leave a Reply